 Lucy's stocking last year was a cute pink "Baby's 1st Christmas 2010" stocking given to her by her Grand-dad, but this year I wanted to make her a unique stocking that had more of a Christmas feel. I have been making things with old wool sweaters this season and had quite a few scraps left, and thought that would make a cozy, festive wool stocking! I traced a stocking shape from one of ours that I like the shape of. Then I cut the paper stocking into shapes for a pattern and left about a 1/2 inch around all sides for a seam allowance. The whole process of making the pattern and sewing it together took less than an hour and was very easy. I love how it turned out and it looked even better full of presents!
Friday, December 30, 2011
Wool Christmas Stocking
Lucy's stocking last year was a cute pink "Baby's 1st Christmas 2010" stocking given to her by her Grand-dad, but this year I wanted to make her a unique stocking that had more of a Christmas feel. I have been making things with old wool sweaters this season and had quite a few scraps left, and thought that would make a cozy, festive wool stocking! I traced a stocking shape from one of ours that I like the shape of. Then I cut the paper stocking into shapes for a pattern and left about a 1/2 inch around all sides for a seam allowance. The whole process of making the pattern and sewing it together took less than an hour and was very easy. I love how it turned out and it looked even better full of presents!
Friday, December 23, 2011
30 Sucks.
I saw this project on Pinterest a while back and kept the idea in the back of my head, knowing that I would have to have a friend turning a milestone birthday sometime in the near future. Well, I had a friend turn the 30 last week. So about a month ago I set out to make the "30 Sucks" sucker bouquet. I went a fairly easy route- Bought a block of florists foam and 2 bags of Blow Pops. Then I used 2 colored paperbags I had on hand cover the foam block. I think next time I would use wrapping paper, but I was impatient and excited to make it and I liked the bright pink. I used my new Cricut machine to cut "30 SUCKS." out of scrapbook paper and to make a little Happy Birthday card. Using an exacto knife, I cut 30 slits in the top of the bags/block and stuck in the suckers. Around the suckers I stuffed crinkle cut paper shreds(the kind you use in gift bags)... and Voila!

I thought it turned out very cute and hopefully it brightened her day for the dreadful 30.

I thought it turned out very cute and hopefully it brightened her day for the dreadful 30.
Sunday, December 4, 2011
DIY Christmas Wreaths
We offer a wreath making class at our greenhouse and I went Saturday to join in. It was quite intimidating in the beginning. Of course, I was late and the other ladies were deep into the process. They were clipping greenery, bundling, wrapping with wire, using a variety of supplies and I was clueless! But I collected all my materials, observed some of the others, and jumped right in. It was actually a lot of fun and turned out much better than I expected! There were some ladies in the class that have been coming to the class for years even though they are nearly wreath making experts, so that they have all the supplies provided in a festive location. Their wreaths were incredible!

I have never bought a fresh wreath (I have a cheap fake one that I have used for years) but I don't think I ever will buy one- I will just make it from now on! I wish I would have taken some pictures during the process to share with everyone, but maybe it is good I didn't so that next year I can gather a group of friends to take the class with me!

I have never bought a fresh wreath (I have a cheap fake one that I have used for years) but I don't think I ever will buy one- I will just make it from now on! I wish I would have taken some pictures during the process to share with everyone, but maybe it is good I didn't so that next year I can gather a group of friends to take the class with me!
Sunday, November 13, 2011
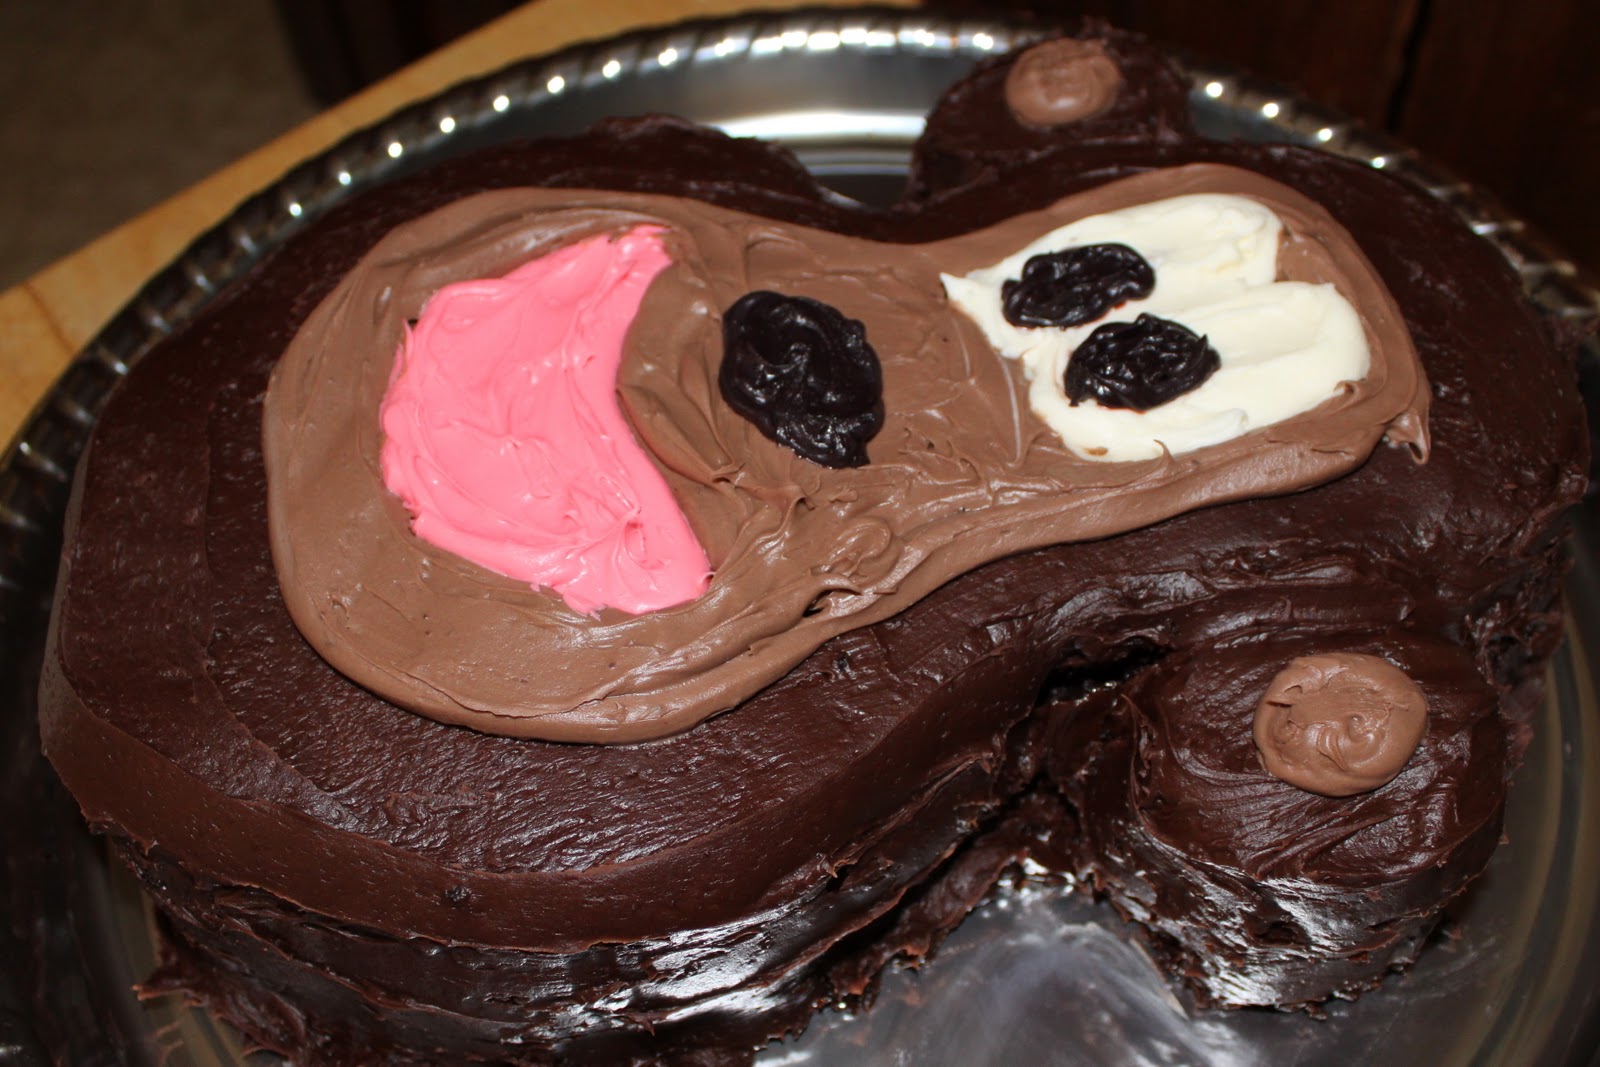
Monkey Birthday Party!
I just realized how long it has been since I posted last. I guess it is evident that I have been chasing around my little crawler who has now turned 1! I have also been working on a lot of things for her birthday party and didn't want to reveal them until party time. So here we are!


Lucy's Monkey Cake...
Cupcakes...

Lucy's "Smash" cake that didn't end up very smashed. Turns out Lucy doesn't like to be very messy. We will see how long that lasts!

Lucy's 12-month photo banner and a "1" collage of her photos...

Lucy's Birthday Banner and Hand-cut monkeys!

Table decorations...

Lucy's "1" Onesie...

This posting is sponsored, in part, by friends and family that gave Lucy toys for her birthday that have allowed her to be occupied/distracted long enough for me to upload these photos!
Saturday, September 3, 2011
Yard Sales with a Purpose.
 Rudy and I LOVE yard sales. For years we would go with no plan in mind. We would end up with all sorts of random crap that will end up in our own yard sale someday soon. We moved this past spring and realized we have way too much random, underutilized crap. So we decided from now on we would yard sale with a distinct purpose and made a little list of items we would search for at yard sales. If it isn't on the list, there has to be a very compelling reason to purchase it. The things on our list aren't really need right away, just things we would like to have if they are the right price or that we will need within the next year. It is kind of like a treasure hunt list. Some of the things we have found this year so far was a Chicco hook-on travel highchair ($4), a microwave ($8), and today's find was a lot of 13 wooden embroidery hoops for $4!! I have a great craft in mind for the hoops, so as soon as I am able to I will share the finished product.
Thursday, August 11, 2011
Beer Bread
I made this recipe last night that I found in a HyVee circular. It turned out much better than I ever expected! I have tried making bread from scratch in the past and it always ended up too salty or too bland or didn't rise at all. This might have had a little too much butter for my arteries, but I will certainly try it again. I just used a Bud Light because that is what I had on hand, but I next time I might try a flavored craft beer.... Bent River Jalapeno Beer Bread anyone?

Monday, August 8, 2011
Freezer Paper Fabric Printing

 This has to be one of the coolest crafts I have ever made. Mainly because it is so easy and it has such a great outcome! All you need is:
- Freezer Paper (not wax or parchment, but paper with a plastic coating on one side)
- Iron
- Fabric Paint
- Foam Paint Brush
- Exact-o-knife
- Pen or Pencil
- Fabric item of your choice (I used one of Lucy's onesies)

 After it was ironed on, I used purple fabric paint in the fabric exposed areas. The paint directions say to dry for 4 hours, but since it is spread out and I am impatient, I probably only left it for about 2-3 hrs. Then I pulled all the paper off and viola! I LOVE the outcome. I ended up making two and will probably make a lot more once I get more colors. I also plan to make some shirts and things for Rudy and myself.
Subscribe to:
Posts (Atom)